

Before we get started, I'd like to introduce the reader to the preferable programs, although I'm sure one could improvise this tutorial into their own program.
The first one I'll use is called paint.net.
Paint.net is pretty much your typical XP MS Paint, but with a few extra features, such as layers, transparency, and some fancy effects. For this, we'll keep it pretty simple and only use the first two of those listed extras.
The other program we'll be using is GIMP 2.6. Other versions of GIMP can be used, of course, but seeing as I am unfamiliar with those, आप may need to improvise on your own.
First off, आप should do a rough sketch of the character आप wish to draw. This can be on paper, या on the computer.
If you're doing this on computer, then I suggest opening paint.net and sketching on Layer 1 in a light blue, red, any colour except black, because that is what we're going to use for the lineart later on.
On the other hand, if you've sketched on paper, take a चित्र या scan that into your computer, and open it with paint.net. Assuming you've used grey leaded pencil for the sketch, it may be a little dark- आप want to have a light sketch, although not so light आप can't see it. If आप go to |Adjustments| |Brightness / Contast| आप can संपादन करे how bright the picture is.
Because I'm lazy, I'm not going to bother posting an image of the sketch, and we're going to हटाइए straight to the lineart.
Once आप have your sketch, add a new layer to your picture. On this new layer, I like to use a size 2 brush to do my lineart. Because I use a mouse, I use the line/curve tool, but for tablet users, आप can improvise with that.
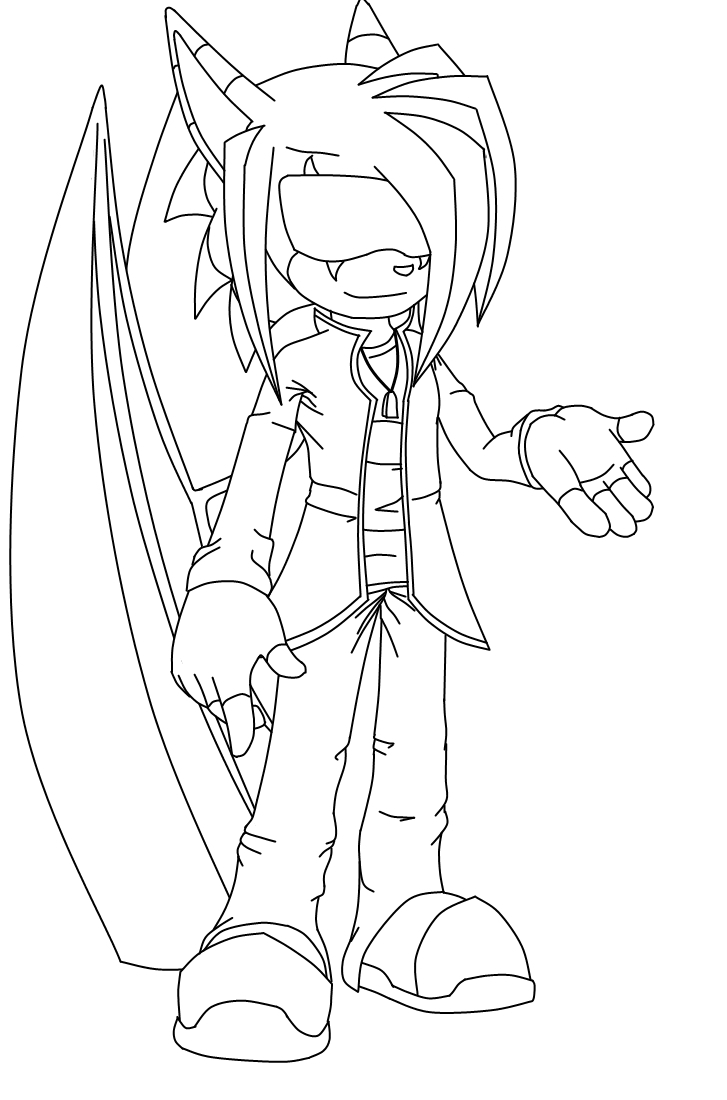
That is my current lineart stage- Although, because this must be a JPEG to अपलोड into an article, I had to get rid of the transparency. आप should save it as either a .pdn या .tiff file to preserve transparency when working.
What I do next, is change my line/curve tool to a size 3 brush, and go around ONLY the outside line of the picture, to silhouette it in. This takes और time and you'll need to have some patience to do it, but it makes the picture look a lot cleaner, crisper, and और professional.
At this point, आप may also want to मिटाइए your sketch layer. This stage should be done solely on the one layer, with a transparent background.
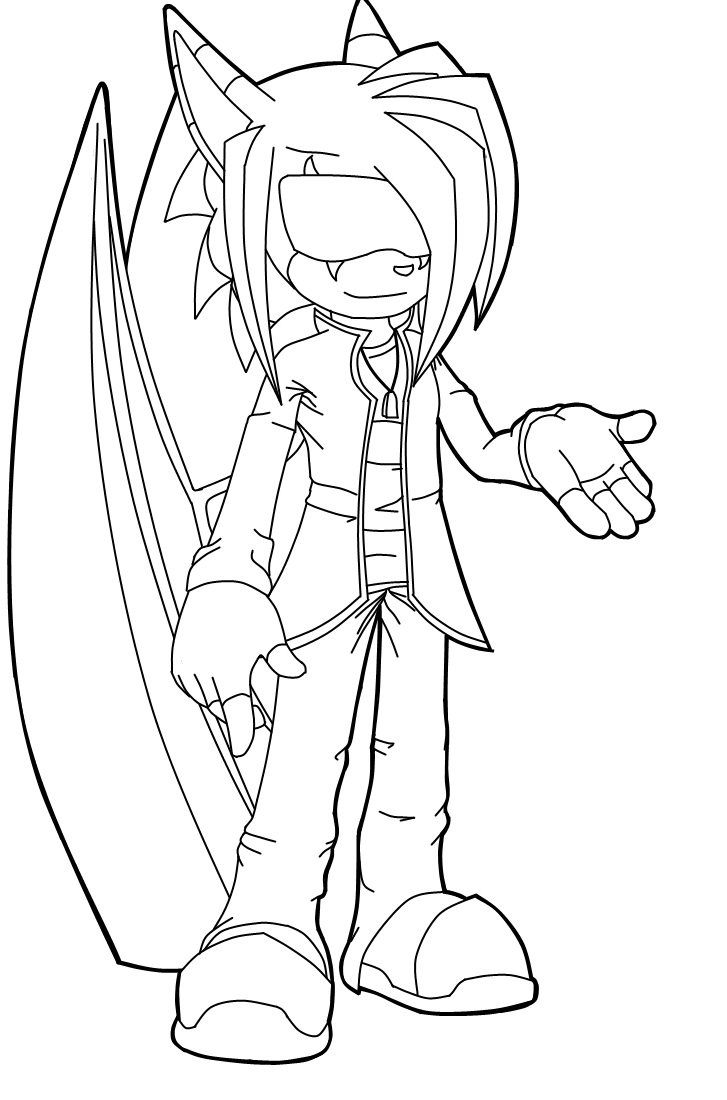
This is what my lineart looks like after I've done that. It looks much nicer, and will make for a much और striking image when coloured and finished.
That ends the stage of lineart. So, now, we want to colour it!
But first, you'll need to save your work.
If आप haven't already, मिटाइए any unwanted layers and compress the needed ones, until आप have ONLY one layer- Your lineart, on a transparent background.
आप CAN save this as a JPEG, but I prefer not to- JPEG files have horrible quality and it'll make colouring it in a lot harder. Instead, I save it as a .tiff file.
Exit paint.net, get your file, and open it in GIMP.
First things first. I like to start with the background- It makes 'smoothing' the character in much easier later on. Give a light source, या if आप want to, several. Keep in mind this will effect your shading later on.
To make a background, add a layer, and stack it BEHIND your lineart.
When doing your background, आप may want to download some effect brushes- For this, I used a glow brush for the green, and a grudge brush with low opacity for the white.

And there it is. A quick, easy-to-make, but pretty background. I used a total of three layers for that, and then compressed them into one.
Now that's all well and good... But it could look nicer. So we'll add some foreground lights, on a layer above the lineart. आप can mess with the opacity of the extra lights layer for better effects.

Here it is so far. I used a three different sparklies brushes on a low layer opacity. This layer, as said, is stacked ABOVE the lineart. This will add a nice glow to the picture later on.
Now, we begin the actual colouring itself.
I use the pencil tool to colour in the picture, on a new layer underneath the lineart, but above the background. As I go, I shade using a black airbrush tool set at low opacity, and a lighter shade of the in-use colour for highlights. Add and merge the colour layers as आप go.
A helpful hint for when shading, is to use the Magic Wand tool, aka the Fuzzy Select tool, to choose the area in use before starting.
Once you've finished with colouring and shading, merge all your layers into one, and at long last, save your drawing as a JPEG file. And then it's ready to upload!
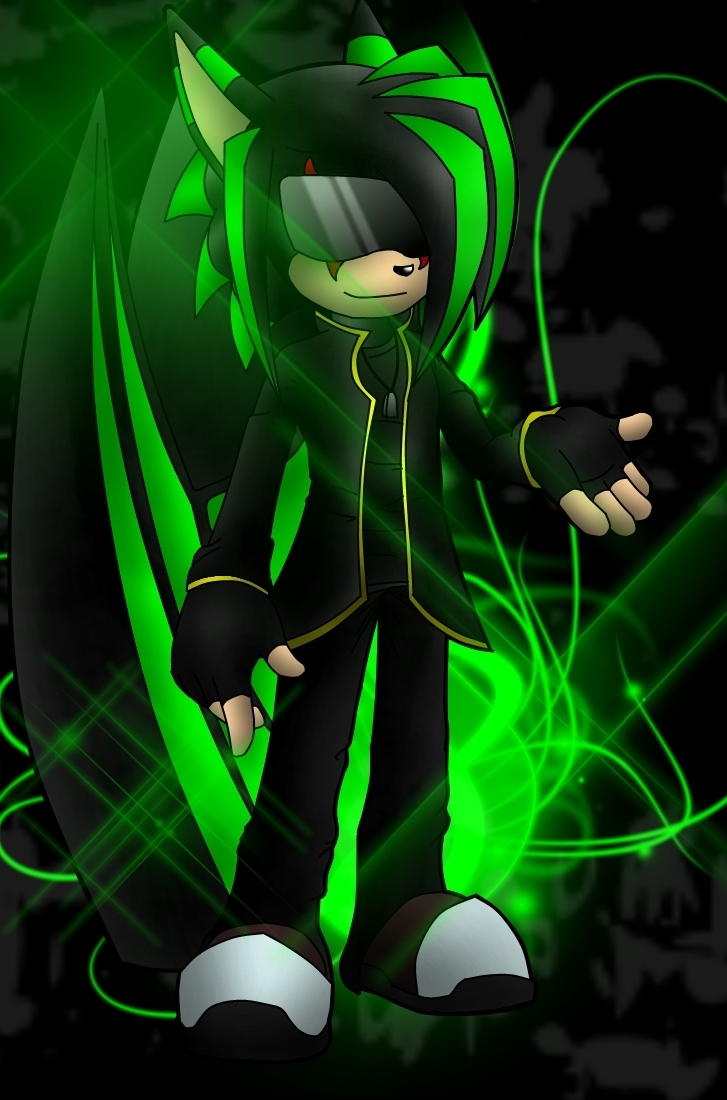
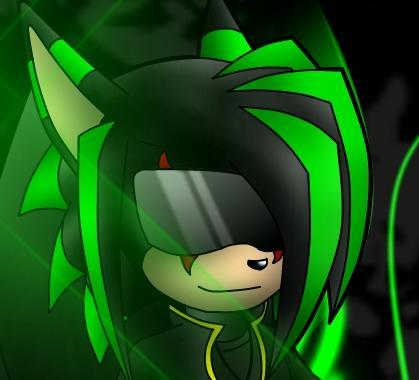
And here we have the finished product of your hard work!
Hope this tutorial helped, and if you've got any further सवालों as to how I work, feel free to ask.
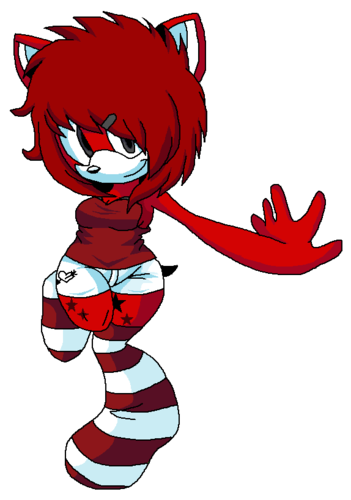
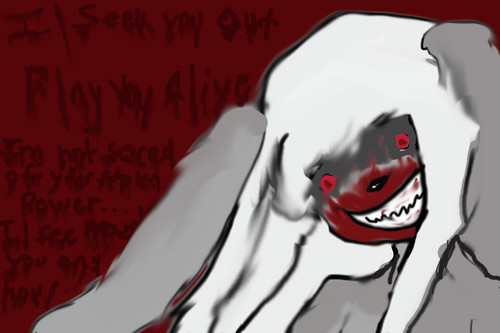
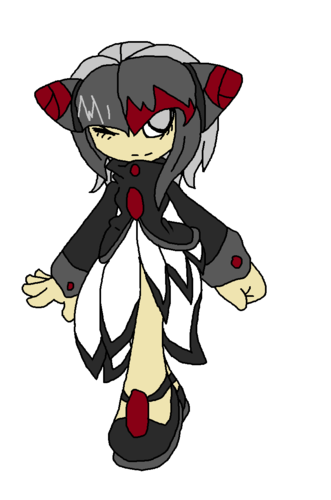
"You're misson is to recover the chaos emeralds." "ok" Ruby runs off heading towards Eggman's base."who's that" ruby thinks. As a Blue hedgehog races by. "It don't matter" As ruby sneaks into one of the vents. Crawling until the she sees the glow of the red chaos emerald. "It's like taking कैन्डी form a baby" ruby jumps out of the vent and takes the chaos emerald. As she gets ready to leave a two tailed लोमड़ी, फॉक्स walks in. "huh, who are you" "I'm ruby, don't bother me" she jumps into the vent before tails can get her. "Get back here ruby" Ruby escapes Eggman's base and run torwds the spy HQ. "so आप say a red hedgehog took the chaos emerald" says sonic "yes, she escaped before I could get her" says tails angerliy "let go after her,sonic" says cream "I'm back" "Good job, angent ruby"says Emma the HQ leader "I have a question, who's the yellow two tailed fox" ruby demands "tails the लोमड़ी, फॉक्स he travels with sonic the hedgehog" "tell me more"


I had seen so many sites, about:
Bad Sonic प्रशंसक Characters
And there is so many critiques about EVERYTHING and EVERYONE designs of them.
So, I had come to this point of having 'good character'
No character isnt perfect.
If the owner loves it, that's all the matters.
आप can have a detailed character, if आप want so.
आप can have simply character, if आप want so.
There is only one think आप must remember:
Make the character's डिज़ाइन fitting in her/him personality and his/her story.
Thank you.
Have a good night, I'm off to sleep now. >8'I