

Amount of light and appropriate use of lighting equipments
There are no standard rules for this. Generally, one key light with some light modifiers are enough to achieve best outcomes. However, आप can always explore new techniques of using fill lights, reflectors, या any other equipment available in the फोटोग्राफी lighting kits to achieve appropriate lighting for your photographs.
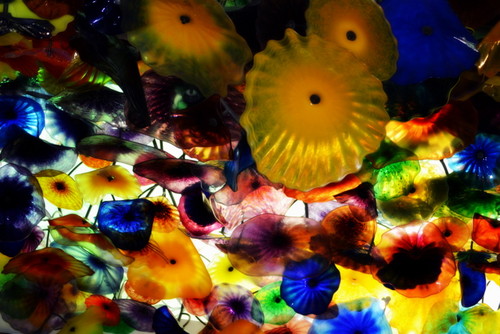
The intensity of the fill light is always less than the key light; however is a good way to balance the light deficiencies. Also, आप need to separate your subject from the background and therefore, backlighting is unavoidable. Moreover, there will be situations when आप would want to give a warm look to your subject. A golden reflector panel is sure to help आप achieve this. In short, do not hesitate to explore the experimental techniques in order to illuminate your scene the way आप desire it to appear in your image.
Proper location of the lights
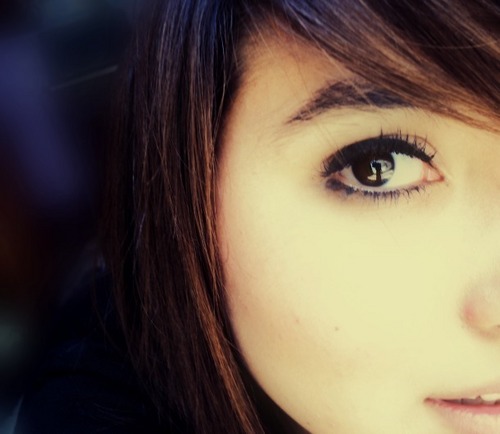
Apart from evaluating the amount of light, आप need to be very specific about the positioning of your the equipments of your photography lighting kit in order to achieve appropriate lighting. For better results, position the lights where it works best even if it requires some extra efforts. The positioning of the equipments depends on the type of फोटोग्राफी आप are doing. For example; if आप are shooting fashion portraits, front lighting will help आप hide the marks and wrinkles on the face of your subject; whereas for product photography, prefer side lighting to reveal as much details as possible. Locating your continuous lighting kits behind your subject instead of placing it on the front would provide आप a silhouette effect.
Direct light या diffused light?
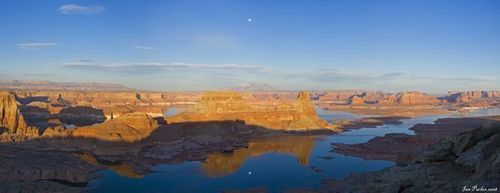
Direct light is rough and unpleasant for photography, as it results in hot spots and shadows. To avoid this, आप must use diffused light. For getting soft या diffused light, pass it over a photographic umbrella, softbox, या any other continuous lighting kit equipment that has a diffusion panel. If आप प्यार photographing sports, nature, landscape, etc., आप have to use natural direct light.
The advantage of using studio lighting is that आप can easily handle it. आप can control both the direction and the intensity of light and therefore; artificial light is always recommended for amateurs.