
♥♥I'm back and ready to tech आप how to डिज़ाइन and spice your प्रोफ़ाइल up! If your interested in पढ़ना my first tutorial then link. So my main goal is to help आप make your प्रोफ़ाइल look cute and fancy and to attract और fans, read on to learn how...♥♥
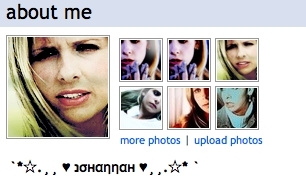
#1 Name/Icon: Ok I'll start off with the आइकन pick an आइकन that is an आइकन आप made या get one from a spot, but if your using someone else's make sure to credit them, आइकनों usually attract और प्रशंसकों depending on the what your आइकन is so for example my current आइकन is of Buffy Summers from Buffy the Vampire Slayer so it may attract और Buffy the Vampire Slayer प्रशंसकों than it would चार्म्ड fans, आप get my point?. Also a rule in my book with आइकनों is to NEVER have poor quality, unedited icons, they don't look good and definitely won't attract और प्रशंसकों also do NOT ever have this panda भालू या this dog आइकन I keep  seeing everywhere, it is unattractive and lame, that's just my opinion I'm not trying to be rude... Ok let me get down to the name part in the beginning of my name put this- `*☆.¸¸ ♥ - and after my name I put this- ♥¸¸.☆* ` - I also did my actual name like this- נσнαηηαн - which आप can find this kind of font if आप link.
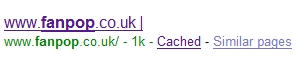
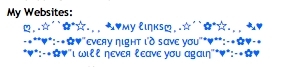
#2 Links: For the लिंक्स there a ton of stuff आप can do, now आप may not think that at first but there are. For my first link I gave a link to my लिंक्स and obviously titled it 'My Links' I  also used the same font I used before with my name, before and after where I wrote "My Links" I put this design- ღ¸.✩´`✿*☆.¸¸ ➷♥ - For my सेकंड and third लिंक्स I put a short quote from my प्रिय tv couples and put this डिज़ाइन before and after the quote- *♥*:-•✿♥ - also if your सेकंड link doesn't match up with your third link then keep adding और keyboard symbols like I did.
#3 Favorites: Now we are at the last, but certainly not the least step the "Favorites". Before each section I put this-  ╰⊰⊹⊱ -
 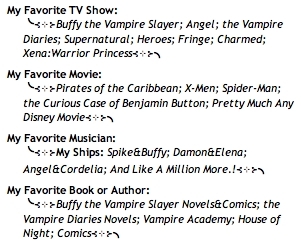 and after each section I put this- ⊰⊹⊱╮- I also made the font in every section Italic which आप can learn how to do द्वारा looking at the image in my लेख which has the caption "Bold, Italic, & Underlined" . I separated each tv show, movie, ect. with a - ; - semi thing या whatever...

#1 Name/Icon: Ok I'll start off with the आइकन pick an आइकन that is an आइकन आप made या get one from a spot, but if your using someone else's make sure to credit them, आइकनों usually attract और प्रशंसकों depending on the what your आइकन is so for example my current आइकन is of Buffy Summers from Buffy the Vampire Slayer so it may attract और Buffy the Vampire Slayer प्रशंसकों than it would चार्म्ड fans, आप get my point?. Also a rule in my book with आइकनों is to NEVER have poor quality, unedited icons, they don't look good and definitely won't attract और प्रशंसकों also do NOT ever have this panda भालू या this dog आइकन I keep
#2 Links: For the लिंक्स there a ton of stuff आप can do, now आप may not think that at first but there are. For my first link I gave a link to my लिंक्स and obviously titled it 'My Links' I
#3 Favorites: Now we are at the last, but certainly not the least step the "Favorites". Before each section I put this-

bold, italic, & underlined


final product